legoboyvdlp wrote:Just HOW did you get such detail?!
Well lego.
obviously you add more detail as you go. But certainly there is not a lack of method. My method is, split the work in stages, and don't touch anything on an stage above until all detail is REALLY complete in the stage working on
Stage 1: Collect high resolution imagery. I use the NSGS explorer, and snapshot at a high resolution the tarmacs, so every line in the tarmac can be retraced (not blurry). Then using WED (pick overlay) mount all the images in a mosaic. It takes at least a week to mount a mosaic of about 100 images (for the size of this airport). This stage is critical, because without the detailed overlay tracing with good detail is just impossible. You can spare this task with
WEDBing. but I don't like it, because the bing maps are inaccurate/old.
Stage 2: Draw the airport boundary, and the runways. Usually, if the airport exists, the runways are there, but usually very inaccurately located. Fix that. Look for charts of the place to determine what type of guides and illuminations the RWys have, and follow as close as possible (for the most realistic result). Also, if an older version exist that is inacurate, or 810, just clean everything from there.
Finally locate the Heliports.
Stage 3: Taxiways and tarmacs. Attention must be done to make a very accurate job on these. Aprons have asphalt or concrete. Frequently both can be found in a single airport. Follow what you see in the satt views. A good Tarmac job, for a large airport may take up to 3 days of polishing. Be patient. Work your way up. Again don't try to start any work above till you are sure you made the best job possible
Stage4. Taxiway lines. Marking for taxiway edges and centerlines. Charts may tell you what type of illumination is to be used. Retrace every line you can see in the overlay (that belong to the category). EVERY is clue here. Retrace is also clue. Don't draw lines that don't exist in the satt view.
Stage 5. Tarmac/Apron marks and lines: This is one area where most layouts are very lacking. Need to use a very detailed overlay again. Retrace EVERY line seen in the overlay. It may take several days to get it done. Work your way thru, in an orderly fashion, working on small areas and progressing steadily. Usually not lit. But charts may tell otherwise. Don't skip on roads over the tarmac either. Don't skip over the marks that bound the parking positions (see KEBD, or my version of SKRG, for an small example)
Stage 6. Locate EVERY parking position marker existing in the tarmacs of the airport. EVERY. If you had to draw the parking marks on 5, you will find those lines great help to assist you on 6. Make sure you researched the correct number/name of the parking spot and fill in. Also fill in the class/kind of gate/aircraft that goes in. Failure here results in corrupted layouts. (use the validate function frequently to check this work)
Stage 7: At last, work your way down with the taxiway signs. Be very methodic working small areas and make sure to complete the small area before rastering orderly the whole airport. This work is other slow part of the job. It feels like it takes forever to place the many taxiway signs a big airport can have. Rotation matters. Location of the sign matter. But overall, the most important thing is the Text. Use Validate frequently to verify the text is valid, or it will result in a corrupted layout
Stage 8. When done, update the gateway and any pertinent repo/repos.
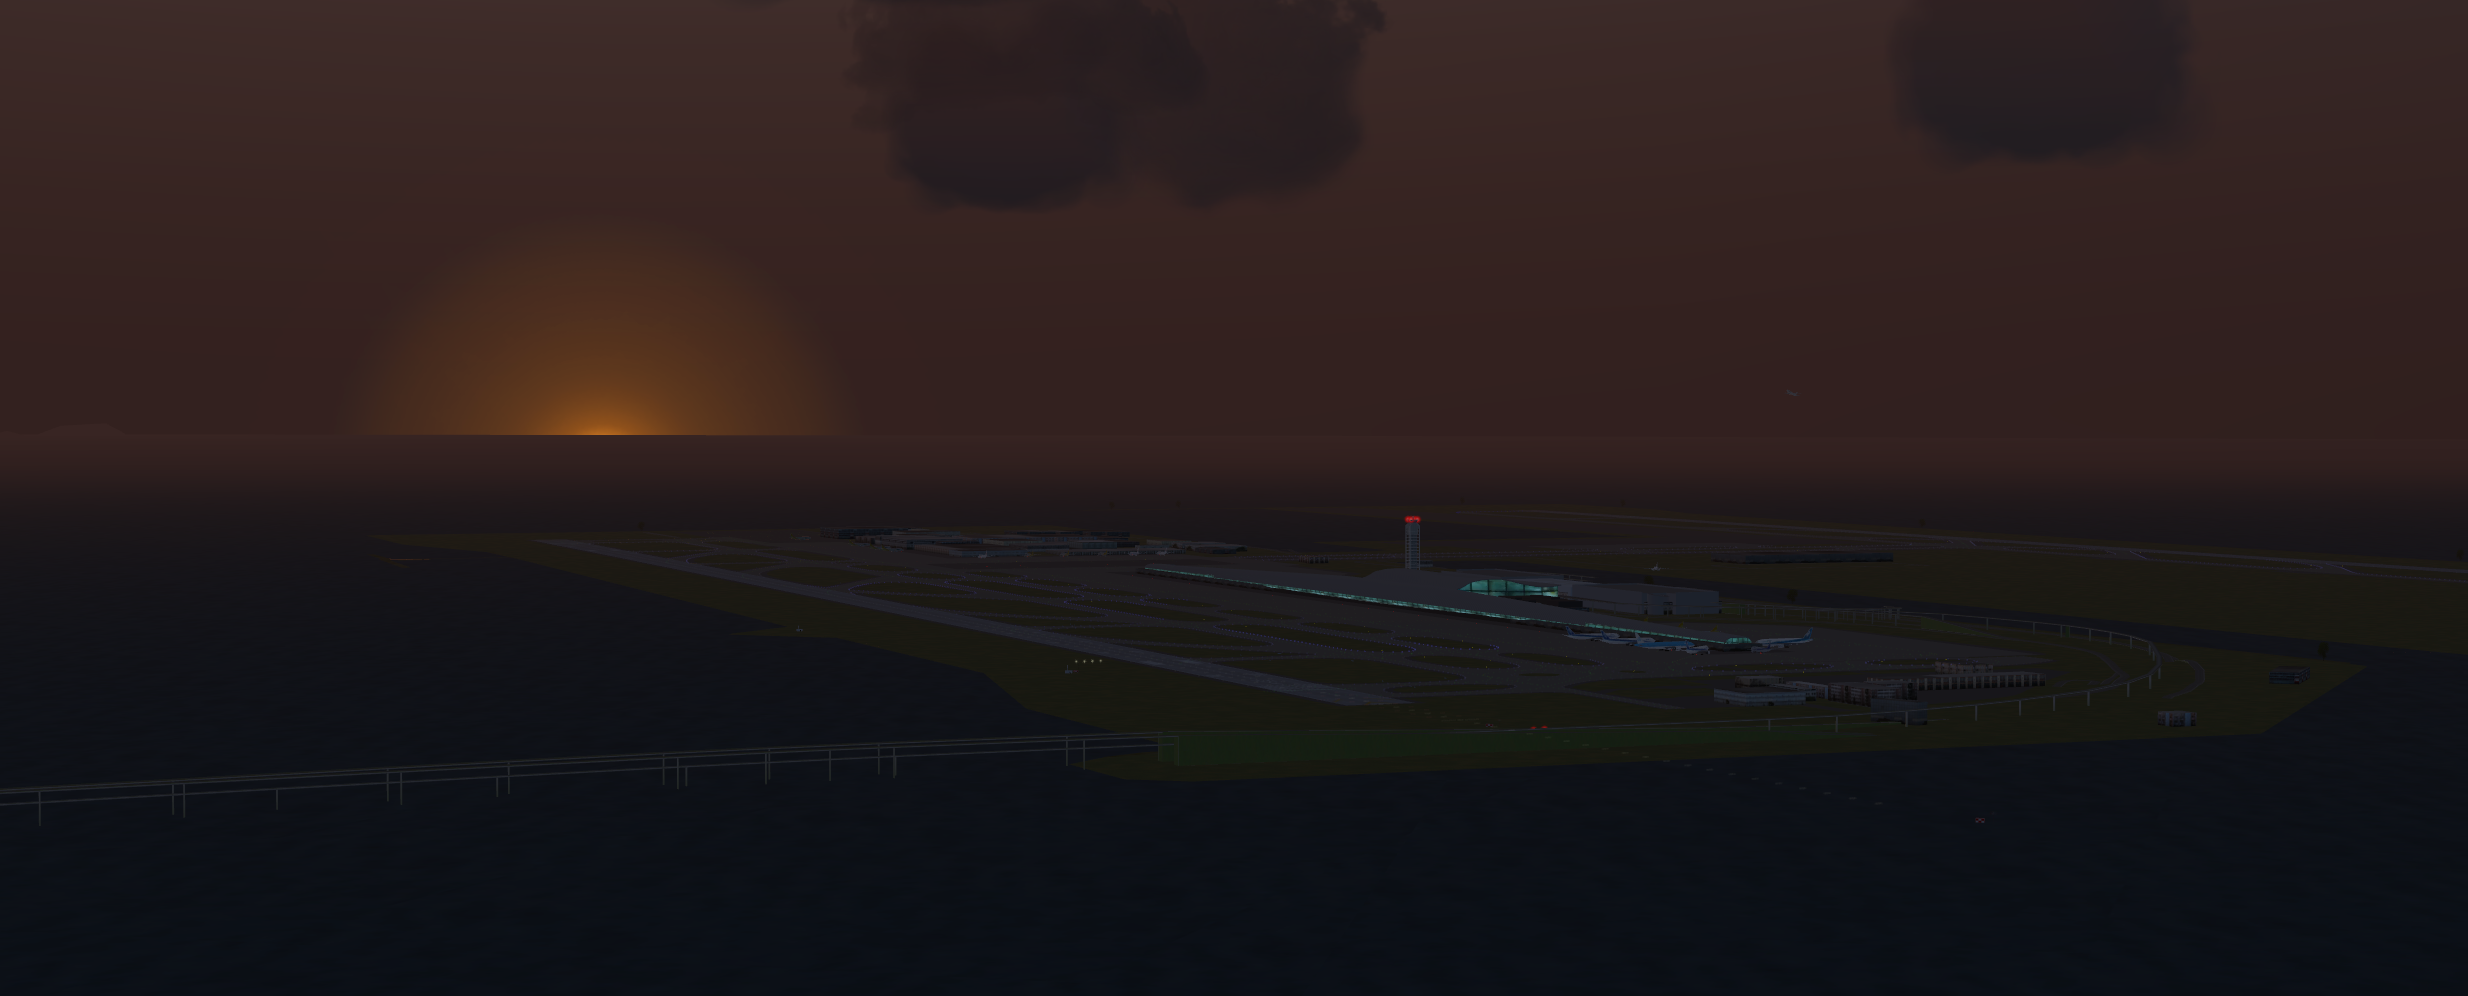
An small airport can be built in a week or so, at this level of detail. Kansai is KRAZY!. It has been 3 weeks of tracing and working on it, to get it to this level of detail. Hopefully the outcome is a pay-off.
I hope it clarifies for you, and I hope it gives you motivation to bring your best everyday.
Best,
IH-COL